github action으로 npm 패키지 publish 하기
npm 저장소에 패키지를 배포해보자
사내 서비스의 SDK를 만들어 npm 저장소에 배포를 하게되었다.
SDK를 만들고 배포하기전 테스트용으로 간단한 프로젝트를 만들어 npm 저장소에 올렸던 기록을 남깁니다.
테스트 목표
구현하고 싶은 내용은 아래와 같습니다.
- 릴리즈가 생성 될 때 해당 릴리즈 버전을 npm 저장소에 올린다.
- Github Action으로 배포 자동화를 한다.
NPM
Github Action을 사용하여 NPM 패키지 배포를 자동화하기 위해서는 NPM의 access token이 필요합니다.
NPM 저장소로 이동 후 access token을 만들어봅시다.
- <a href={{href: "https://www.npmjs.com/"}} style={{ color: "#FF69B4" }}>https://www.npmjs.com/</a>
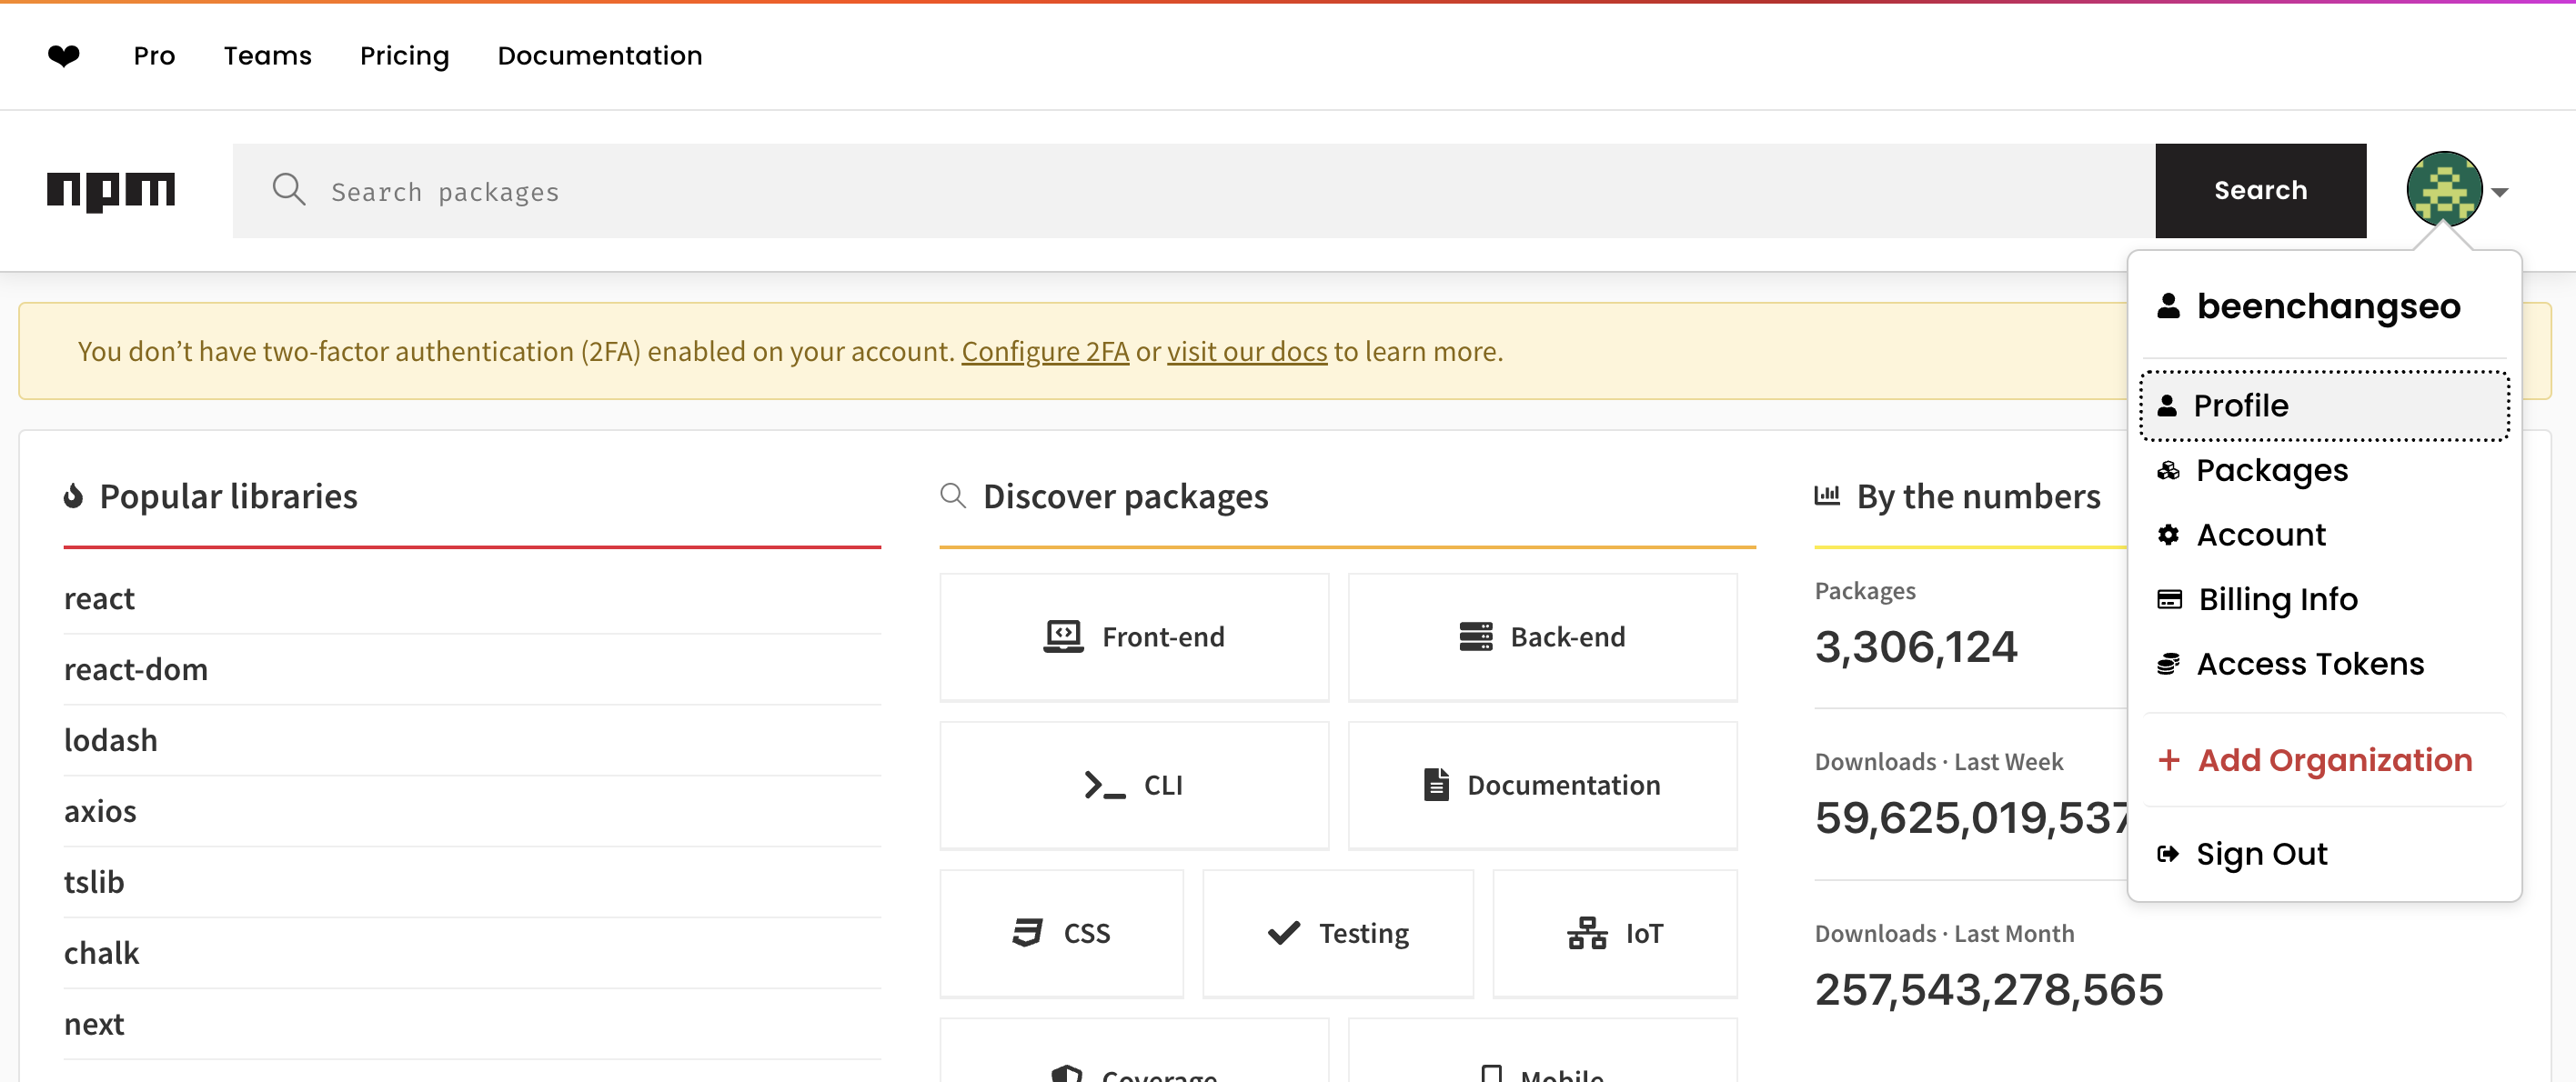
로그인 후 오른쪽의 프로필 아이콘을 클릭 후 <span style={{ color: "#FF69B4" }}>Access Token</span> 메뉴를 클릭한다.
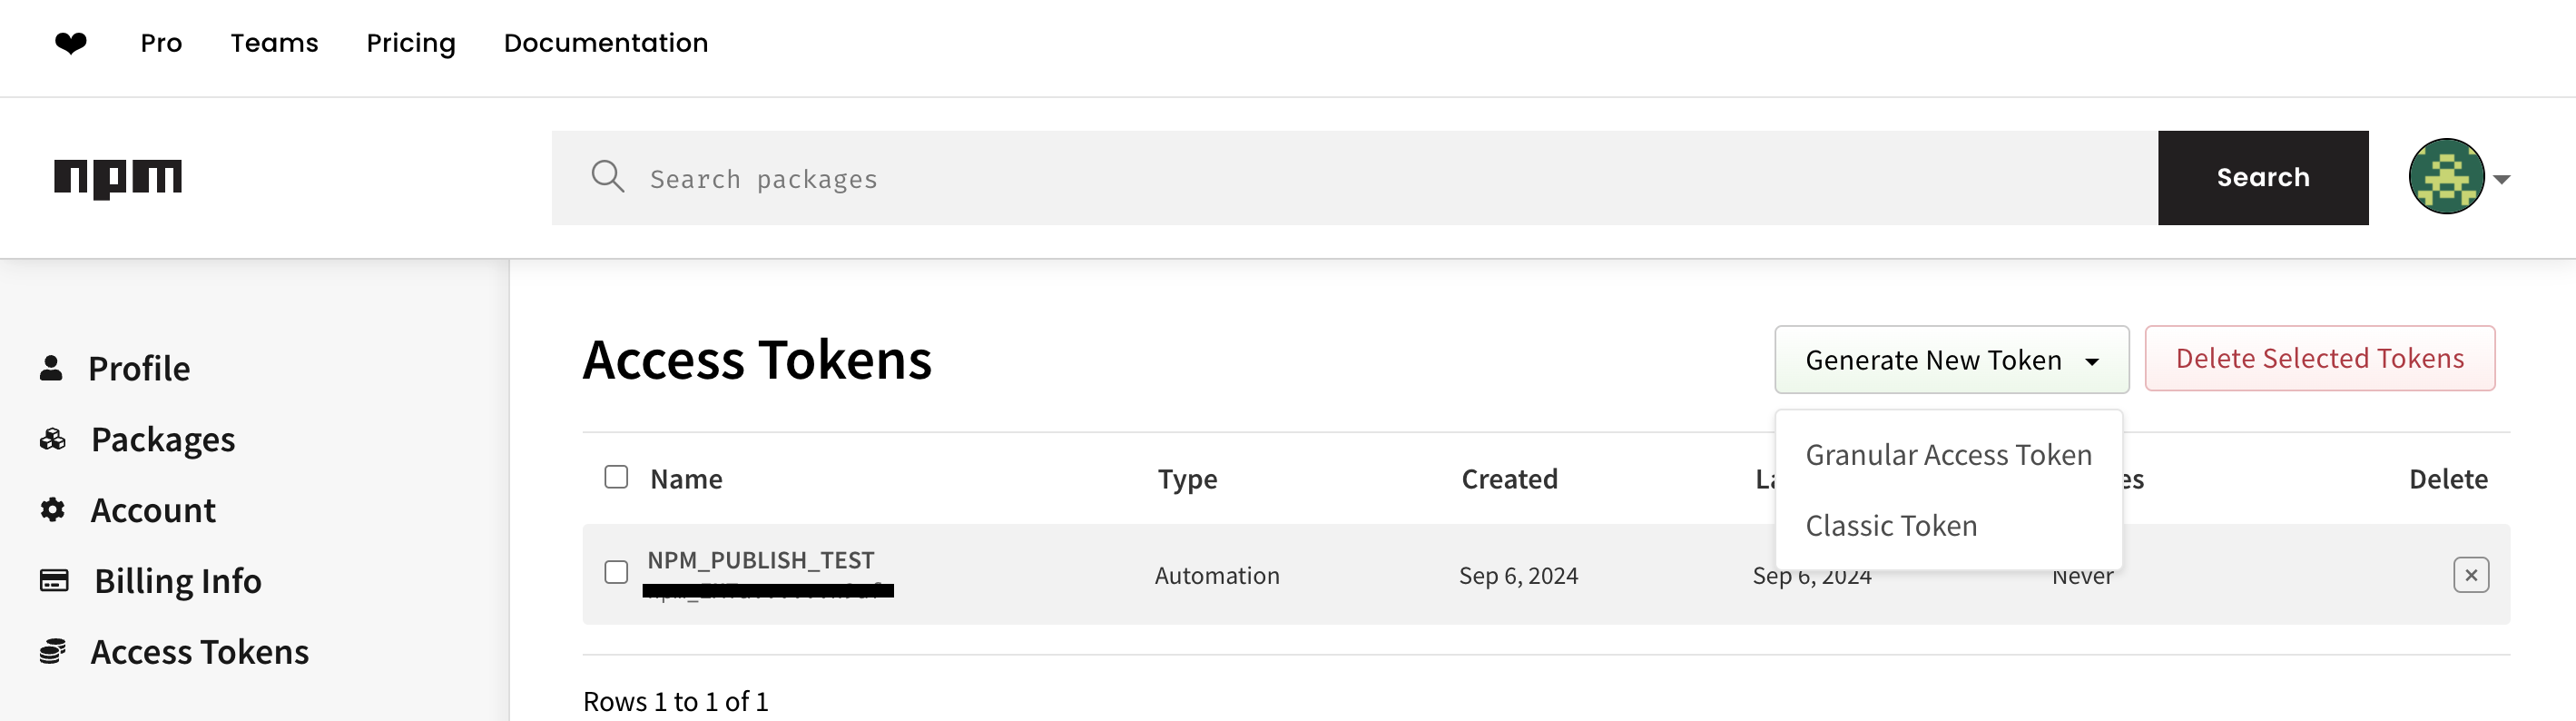
Generate New Token을 누르고 Classic Token으로 토큰을 생성하면된다.
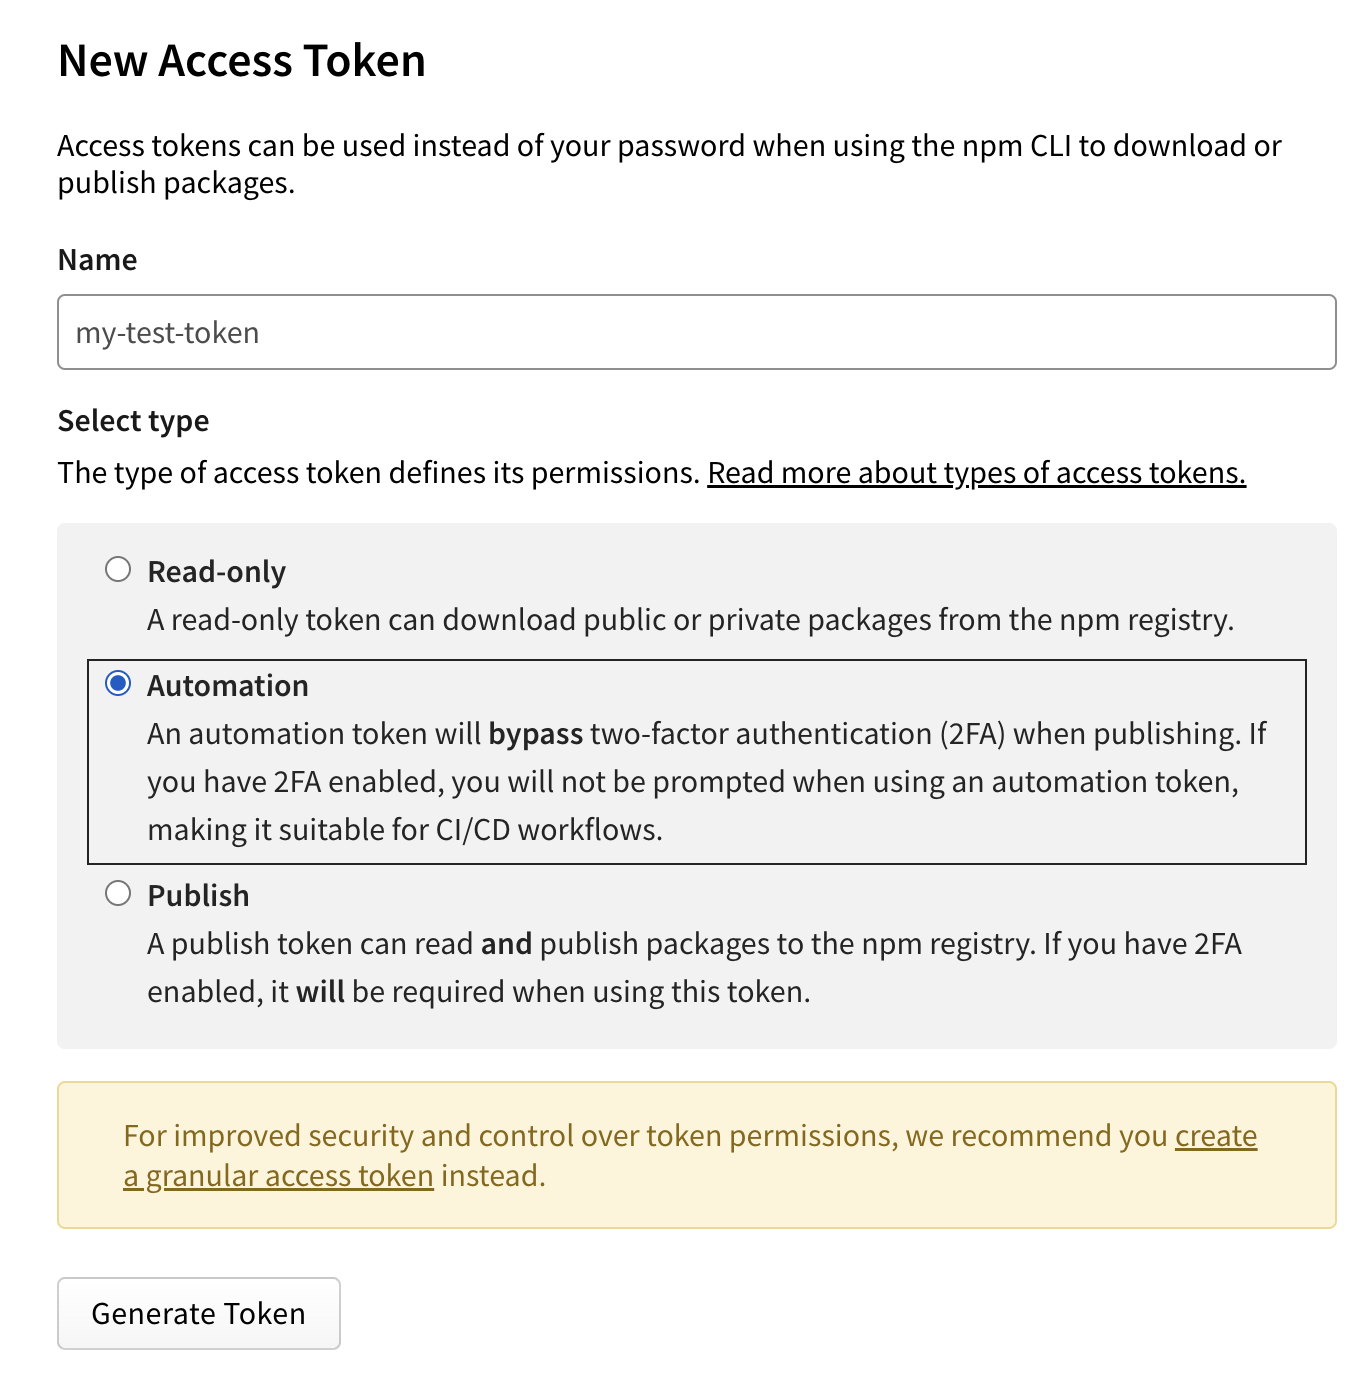
적절히 토큰의 이름을 작성해주고 Automation을 클릭하여 생성해준다.
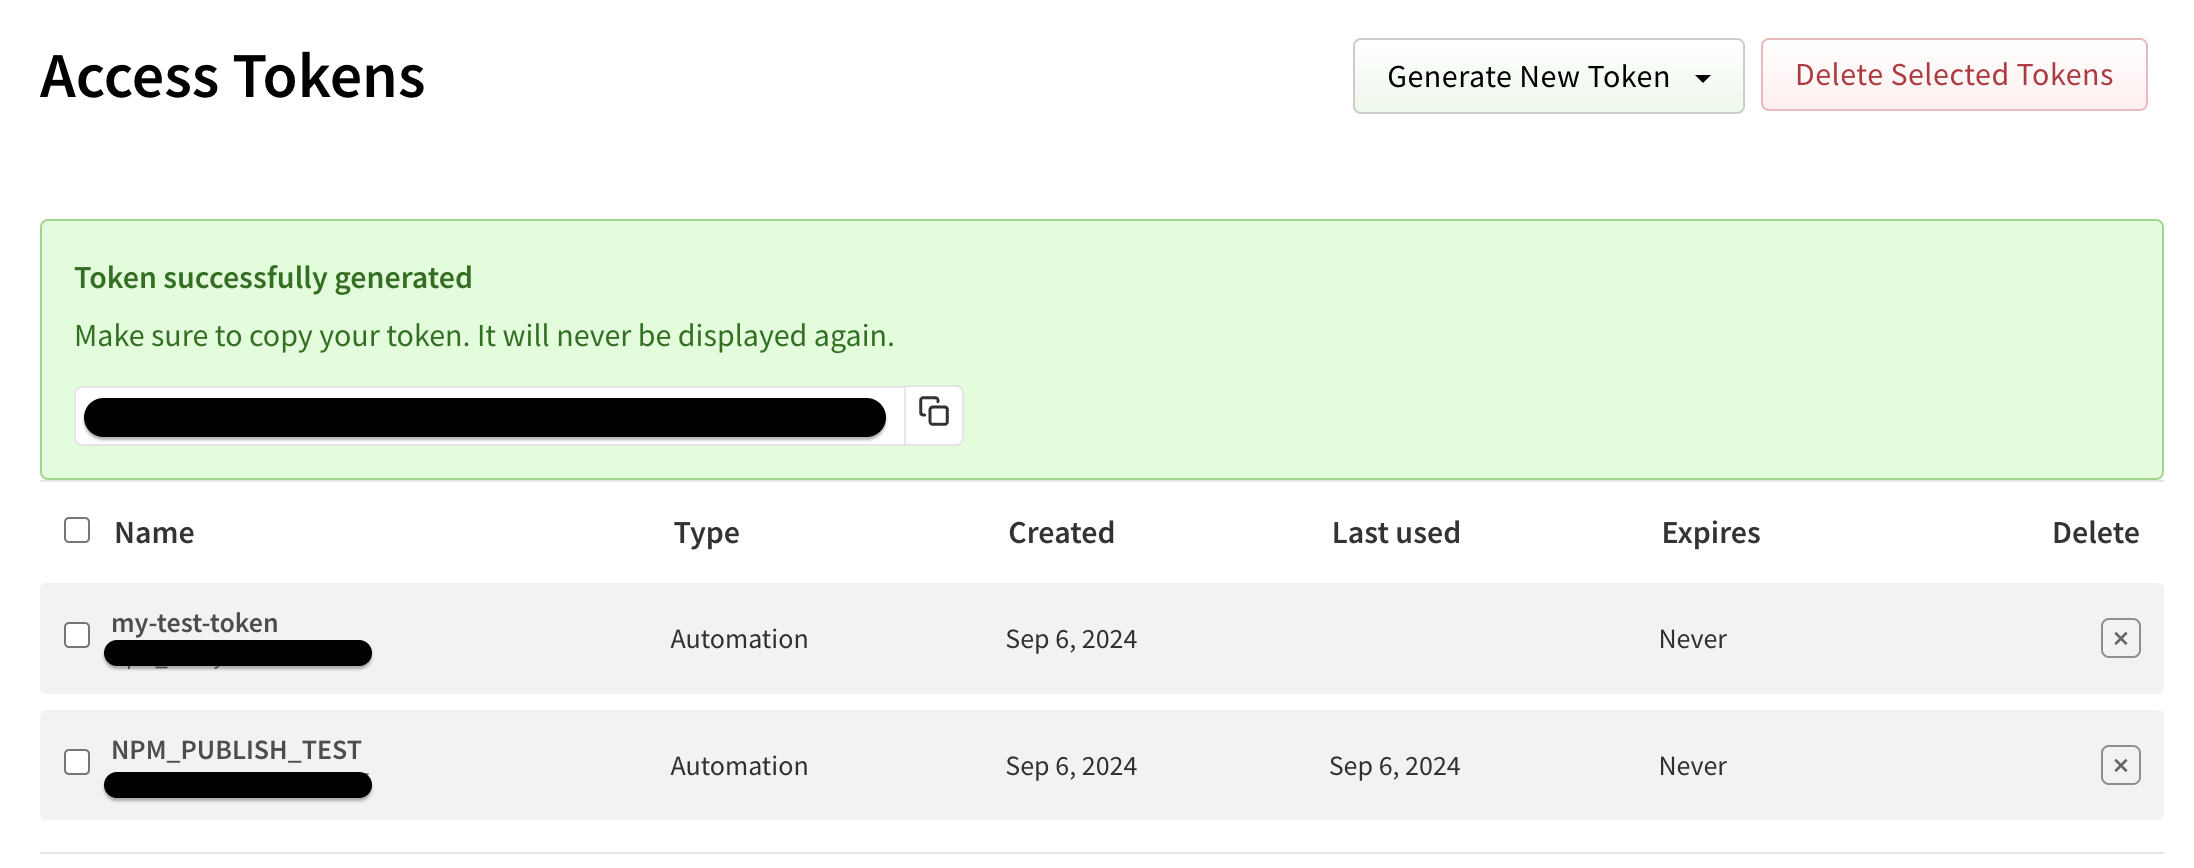
자 이제 토큰이 생성되었다.
생성된 토큰은 한번만 보여주니 잘 저장해야합니다.
Github Action Secret
생성된 토큰을 Github Action Secret에 등록 해봅시다.
Settings > Secret And Variables > Action 메뉴로 갑니다.
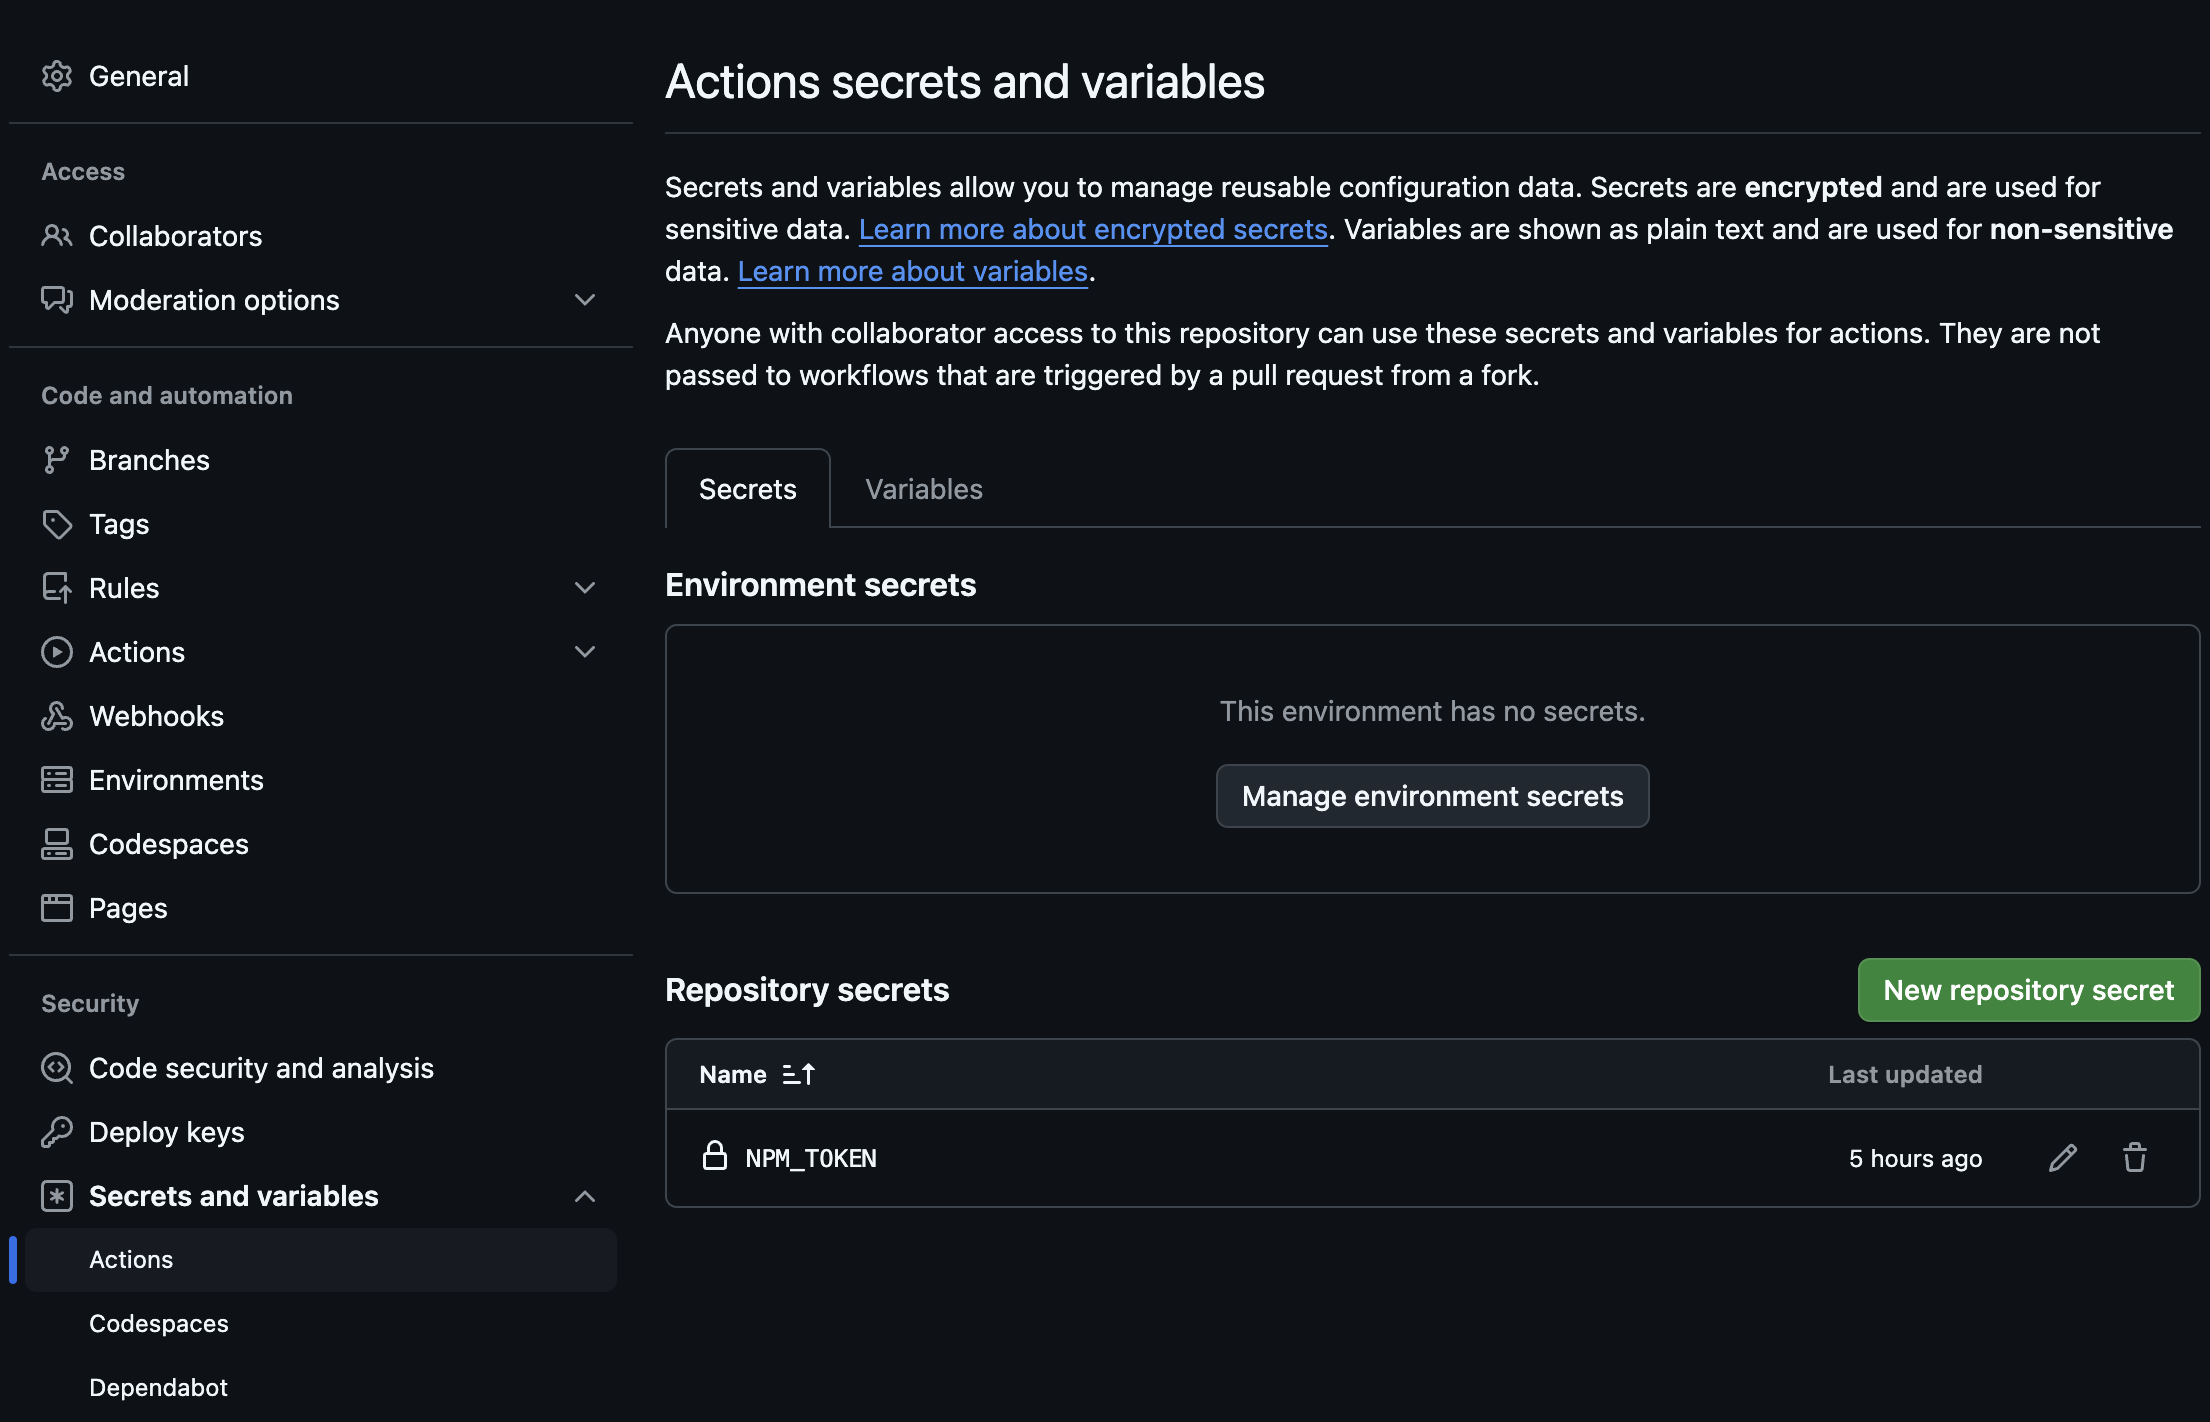
<span style={{ color: "#FF69B4" }}>New repository secret</span> 을 클릭하면 다음과 같은 화면이 나옵니다.
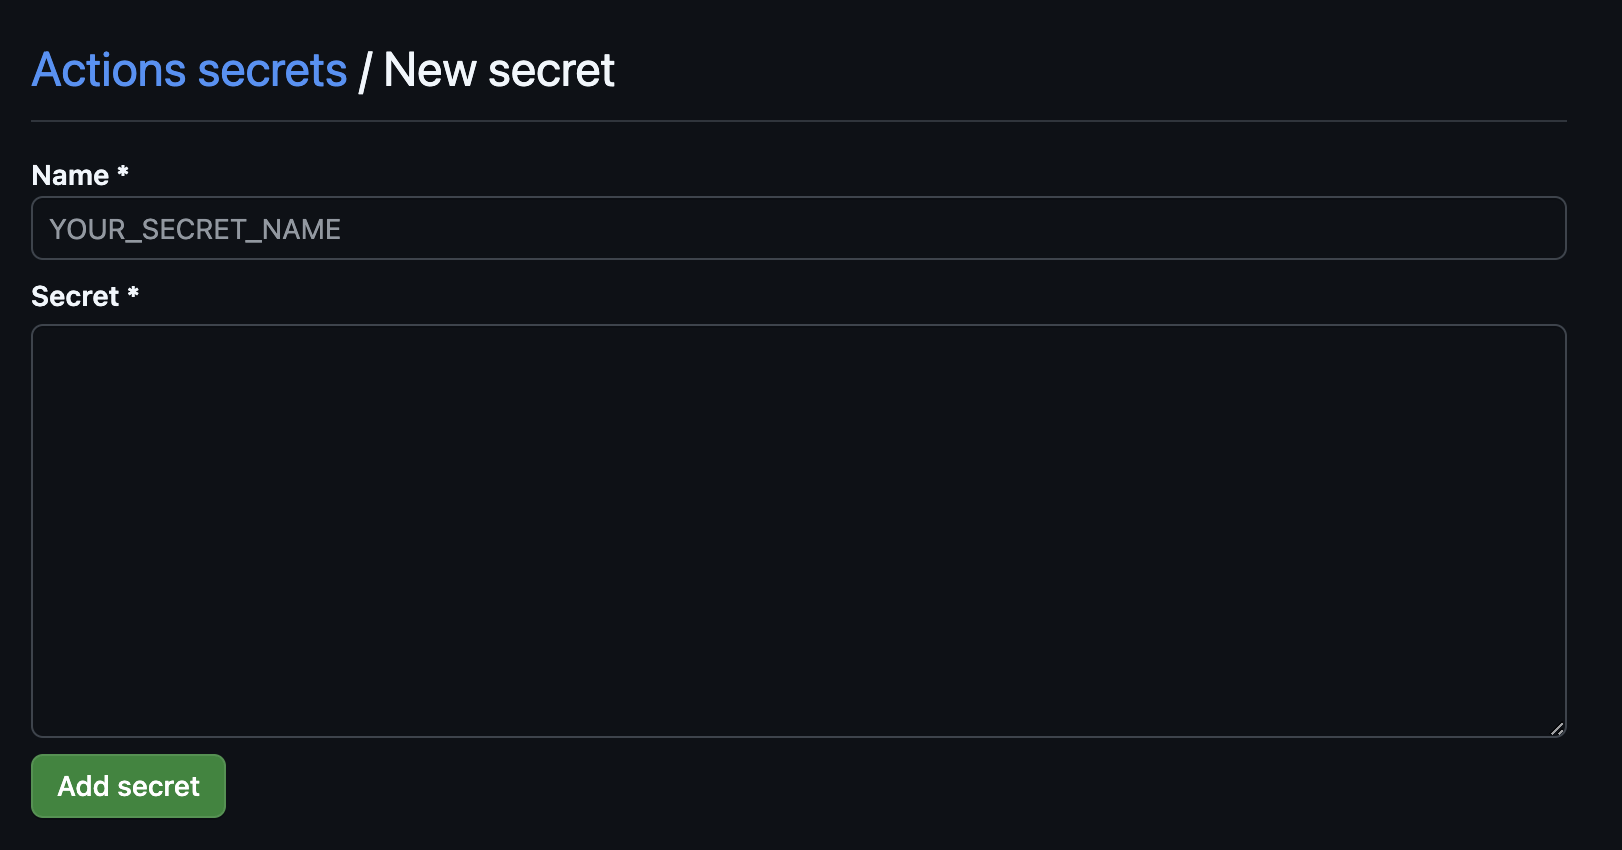
NPM에서 만든 Access Token을 secret에 적어주고 적절한 이름을 Name에 적어줍니다.
프로젝트 생성
npm init을 통해 package.json파일을 생성합니다.
- scope 옵션으로 패키지 이름 앞에 조직 이름을 붙일 수 있습니다. 예를 들어 npm 패키지 설치 시 다음과 같은 명령어로 설치 가능합니다.
npm init --scope=beenchangseo

package name: (@beenchangseo/sqs-provider)
version: (1.0.0)
description: JS utils for everyone
entry point: (index.js)
test command:
git repository:
keywords:
author: beenchangseo
license: (ISC)
배포를 위한 코드도 작성해봅시다.
일부 코드만 작성하였습니다 모든 코드는 이 부분은 Github에서 확인 하실 수 있습니다.
// src/index.ts
import SQSClientModule from './lib/sqsClientModule';
import Producer from './lib/producer';
import Consumer from './lib/consumer';
import GetAttributes from './lib/getAttributes';

export {SQSClientModule, Producer, Consumer, GetAttributes};

export default {SQSClientModule, Producer, Consumer, GetAttributes};
// src/sqsClientModule.ts
import {SQSClient} from '@aws-sdk/client-sqs';
import {SQSClientModuleOption} from '../types';

class SQSClientModule {
    private static instance: SQSClientModule;
    private readonly sqsClient: SQSClient;
    private readonly sqsOption: SQSClientModuleOption;
    private readonly sqsClientPool = new Set<SQSClient>();

    constructor(public option: SQSClientModuleOption) {
        this.sqsOption = option;
        this.sqsClient = new SQSClient({region: this.sqsOption.region});
        if (SQSClientModule.instance) return SQSClientModule.instance;
        SQSClientModule.instance = this;
    }

    getSQSClient(): SQSClient {
        return this.sqsClient;
    }

    getSQSClientPool(): Set<SQSClient> {
        if (this.option.pool) {
            if (this.sqsClientPool.size === 0) {
                for (let i = 0; i < this.option.pool; i++) {
                    this.sqsClientPool.add(new SQSClient({region: this.sqsOption.region}));
                }
            } else {
                for (const client of this.sqsClientPool) {
                    client.destroy();
                }

                this.sqsClientPool.clear();

                for (let i = 0; i < this.option.pool; i++) {
                    this.sqsClientPool.add(new SQSClient({region: this.sqsOption.region}));
                }
            }
        } else {
        }
        return this.sqsClientPool;
    }
}

export default SQSClientModule;
GitHub Actions
Github Actions를 이용한 CI/CD 설정을 합니다.
Github Repository에서 Actions 탭을 이용하면 쉽게 workflow 생성이 가능하다.
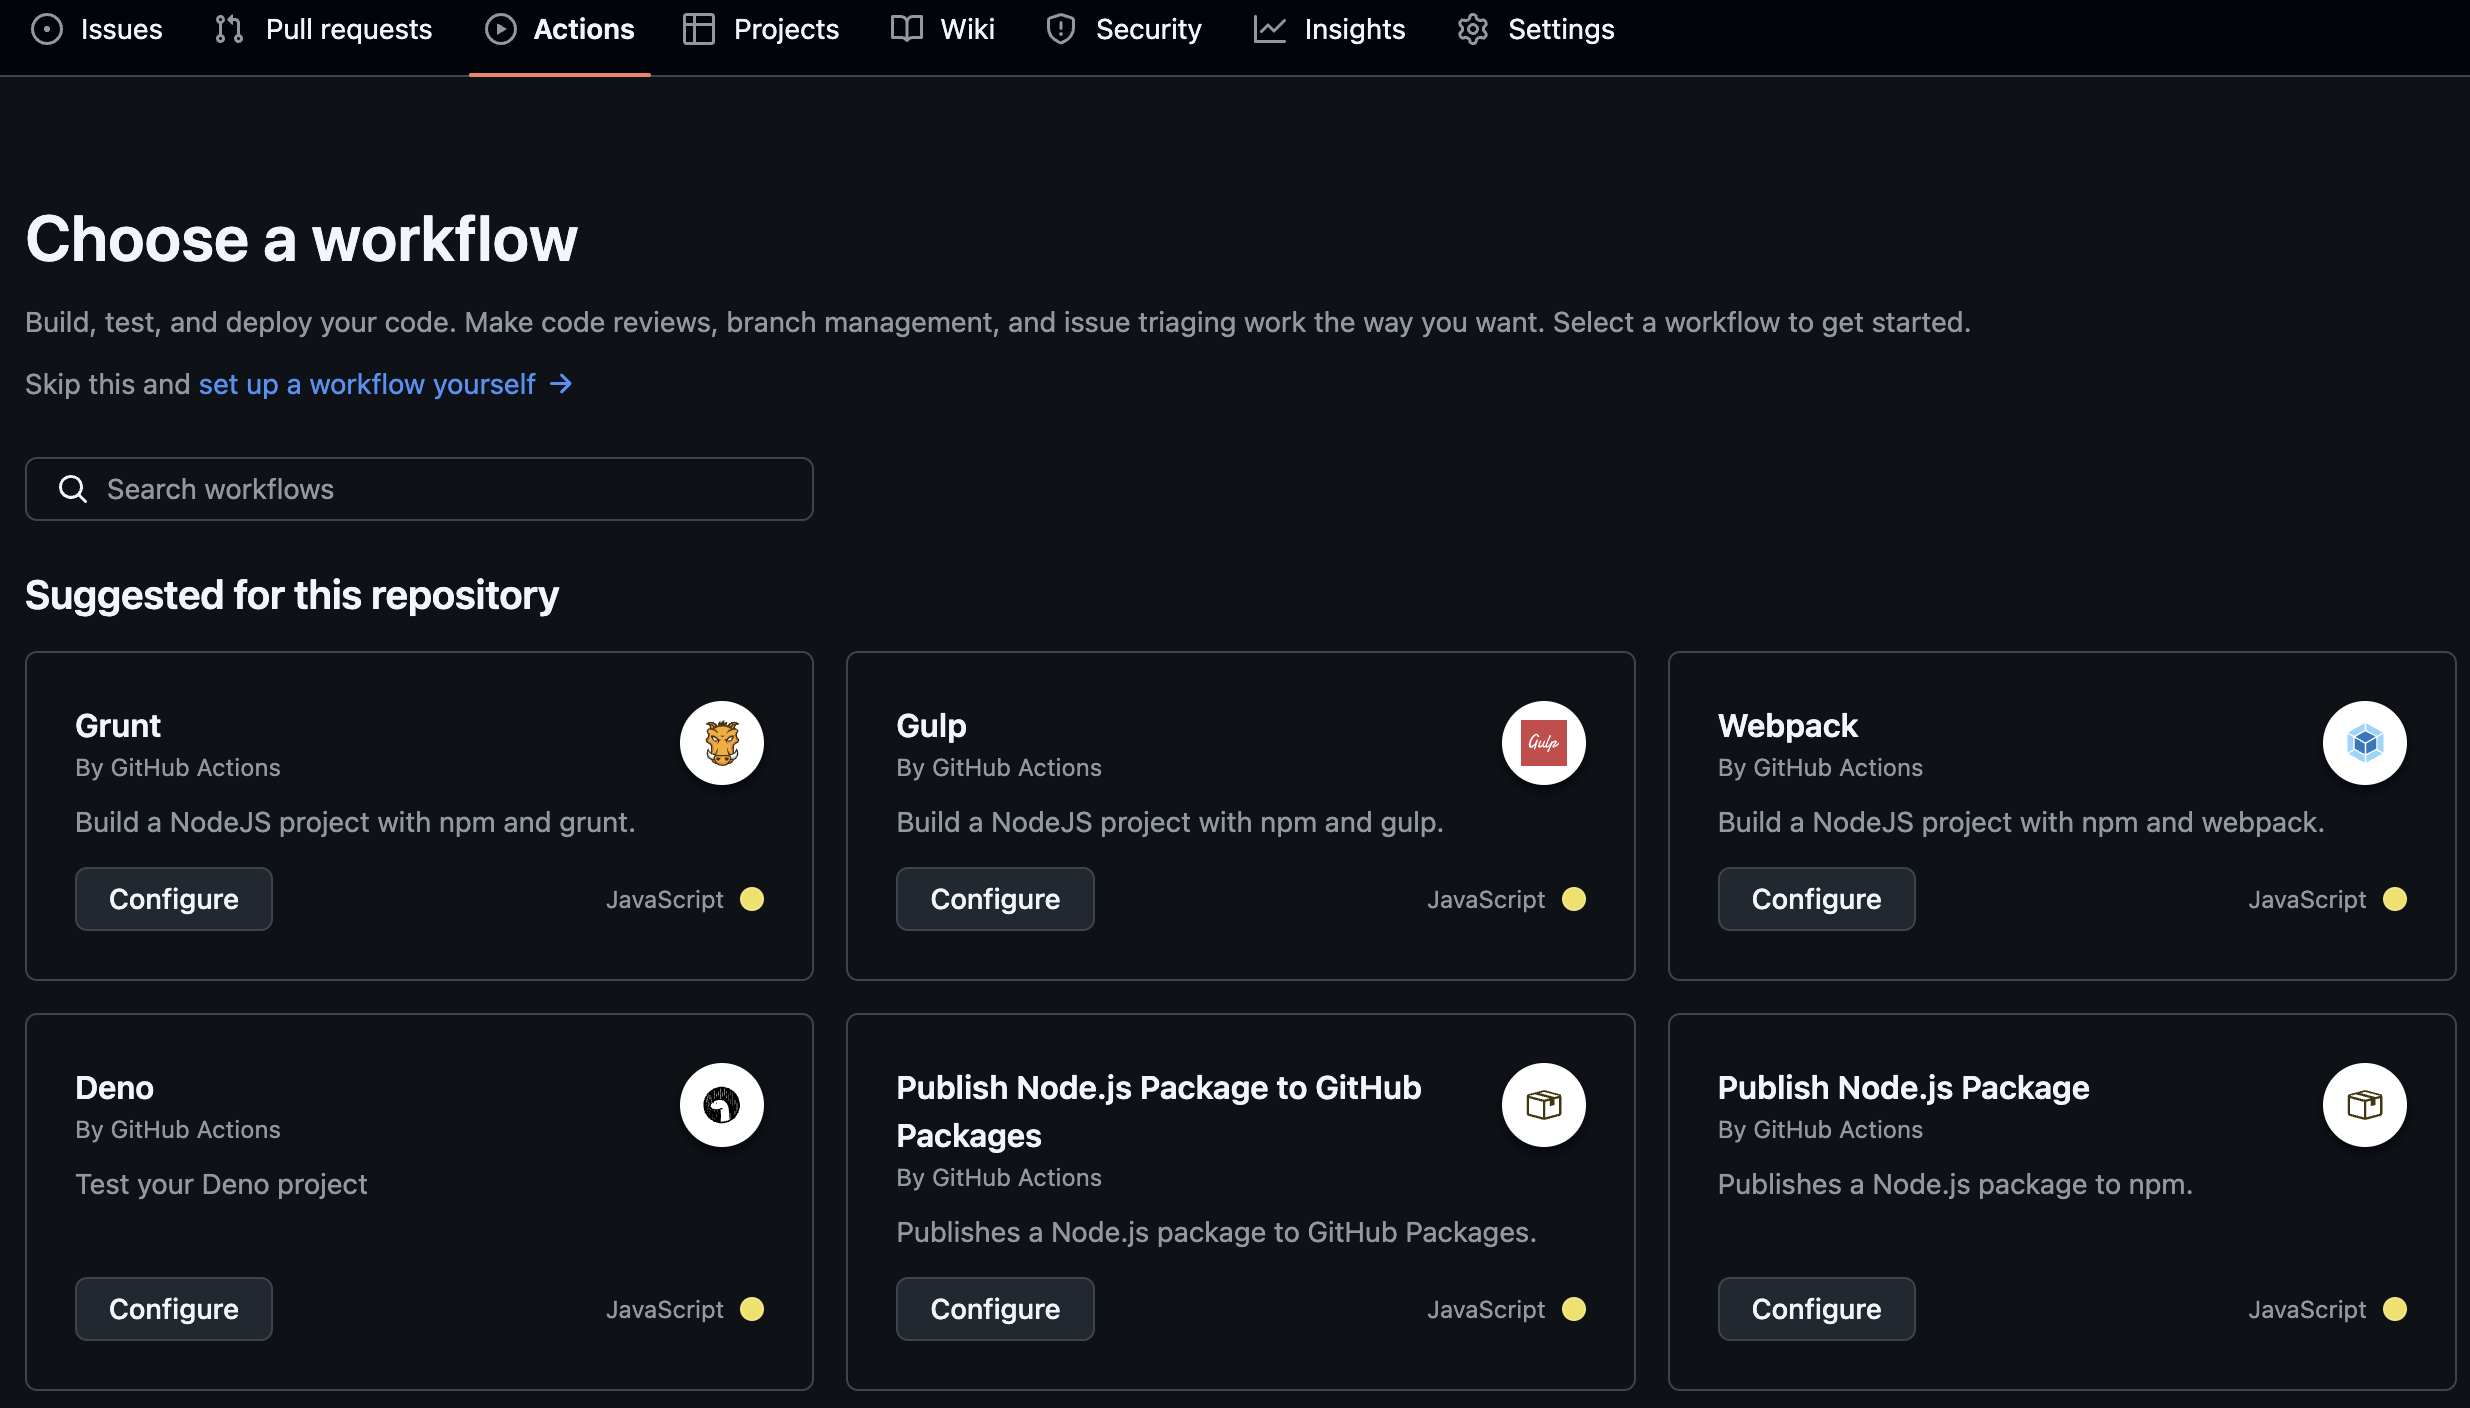
Publish Node.js package to GitHub Packages를 선택하면 workflow를 작성하는 페이지로 이동한다.
페이지로 이동하면 기본값으로 workflow가 아래와 같이 입력되어있습니다.
# This workflow will run tests using node and then publish a package to GitHub Packages when a release is created
# For more information see: https://docs.github.com/en/actions/publishing-packages/publishing-nodejs-packages

name: Node.js Package

on:
  release:
    types: [created]

jobs:
  build:
    runs-on: ubuntu-latest
    steps:
      - uses: actions/checkout@v4
      - uses: actions/setup-node@v4
        with:
          node-version: 20
      - run: npm ci
      - run: npm test

  publish-gpr:
    needs: build
    runs-on: ubuntu-latest
    permissions:
      contents: read
      packages: write
    steps:
      - uses: actions/checkout@v4
      - uses: actions/setup-node@v4
        with:
          node-version: 20
          registry-url: https://npm.pkg.github.com/
      - run: npm ci
      - run: npm publish
        env:
          NODE_AUTH_TOKEN: ${{secrets.GITHUB_TOKEN}}
저는 jobs의 일부 이름을 수정했고, NPM_TOKEN을 사용하기 위해 permissions에 id_token 설정해주었습니다.
또 test코드는 아직 작성하지 않았기 때문에 주석처리 하였습니다.
# This workflow will run tests using node and then publish a package to GitHub Packages when a release is created
# For more information see: https://docs.github.com/en/actions/publishing-packages/publishing-nodejs-packages

name: Node.js Package

on:
  release:
    types: [created]

jobs:
  # build:
  #   runs-on: ubuntu-latest
  #   steps:
  #     - uses: actions/checkout@v4
  #     - uses: actions/setup-node@v4
  #       with:
  #         node-version: 20
  #     - run: npm ci
  #     - run: npm test

  publish:
    # needs: build
    runs-on: ubuntu-latest
    permissions:
      contents: read
      id-token: write
    steps:
      - name: Check out the code
        uses: actions/checkout@v4

      - name: Set up Node.js
        uses: actions/setup-node@v4
        with:
          node-version: 20
          registry-url: 'https://registry.npmjs.org'

      - name: Npm ci
        run: npm ci

      - name: Npm publish
        run: npm publish --provenance --access public
        env:
          NODE_AUTH_TOKEN: ${{ secrets.NPM_TOKEN }}
이제 설정이 완료 되었으니 브랜치에 푸시를 하고 태그와 릴리즈를 생성합니다.

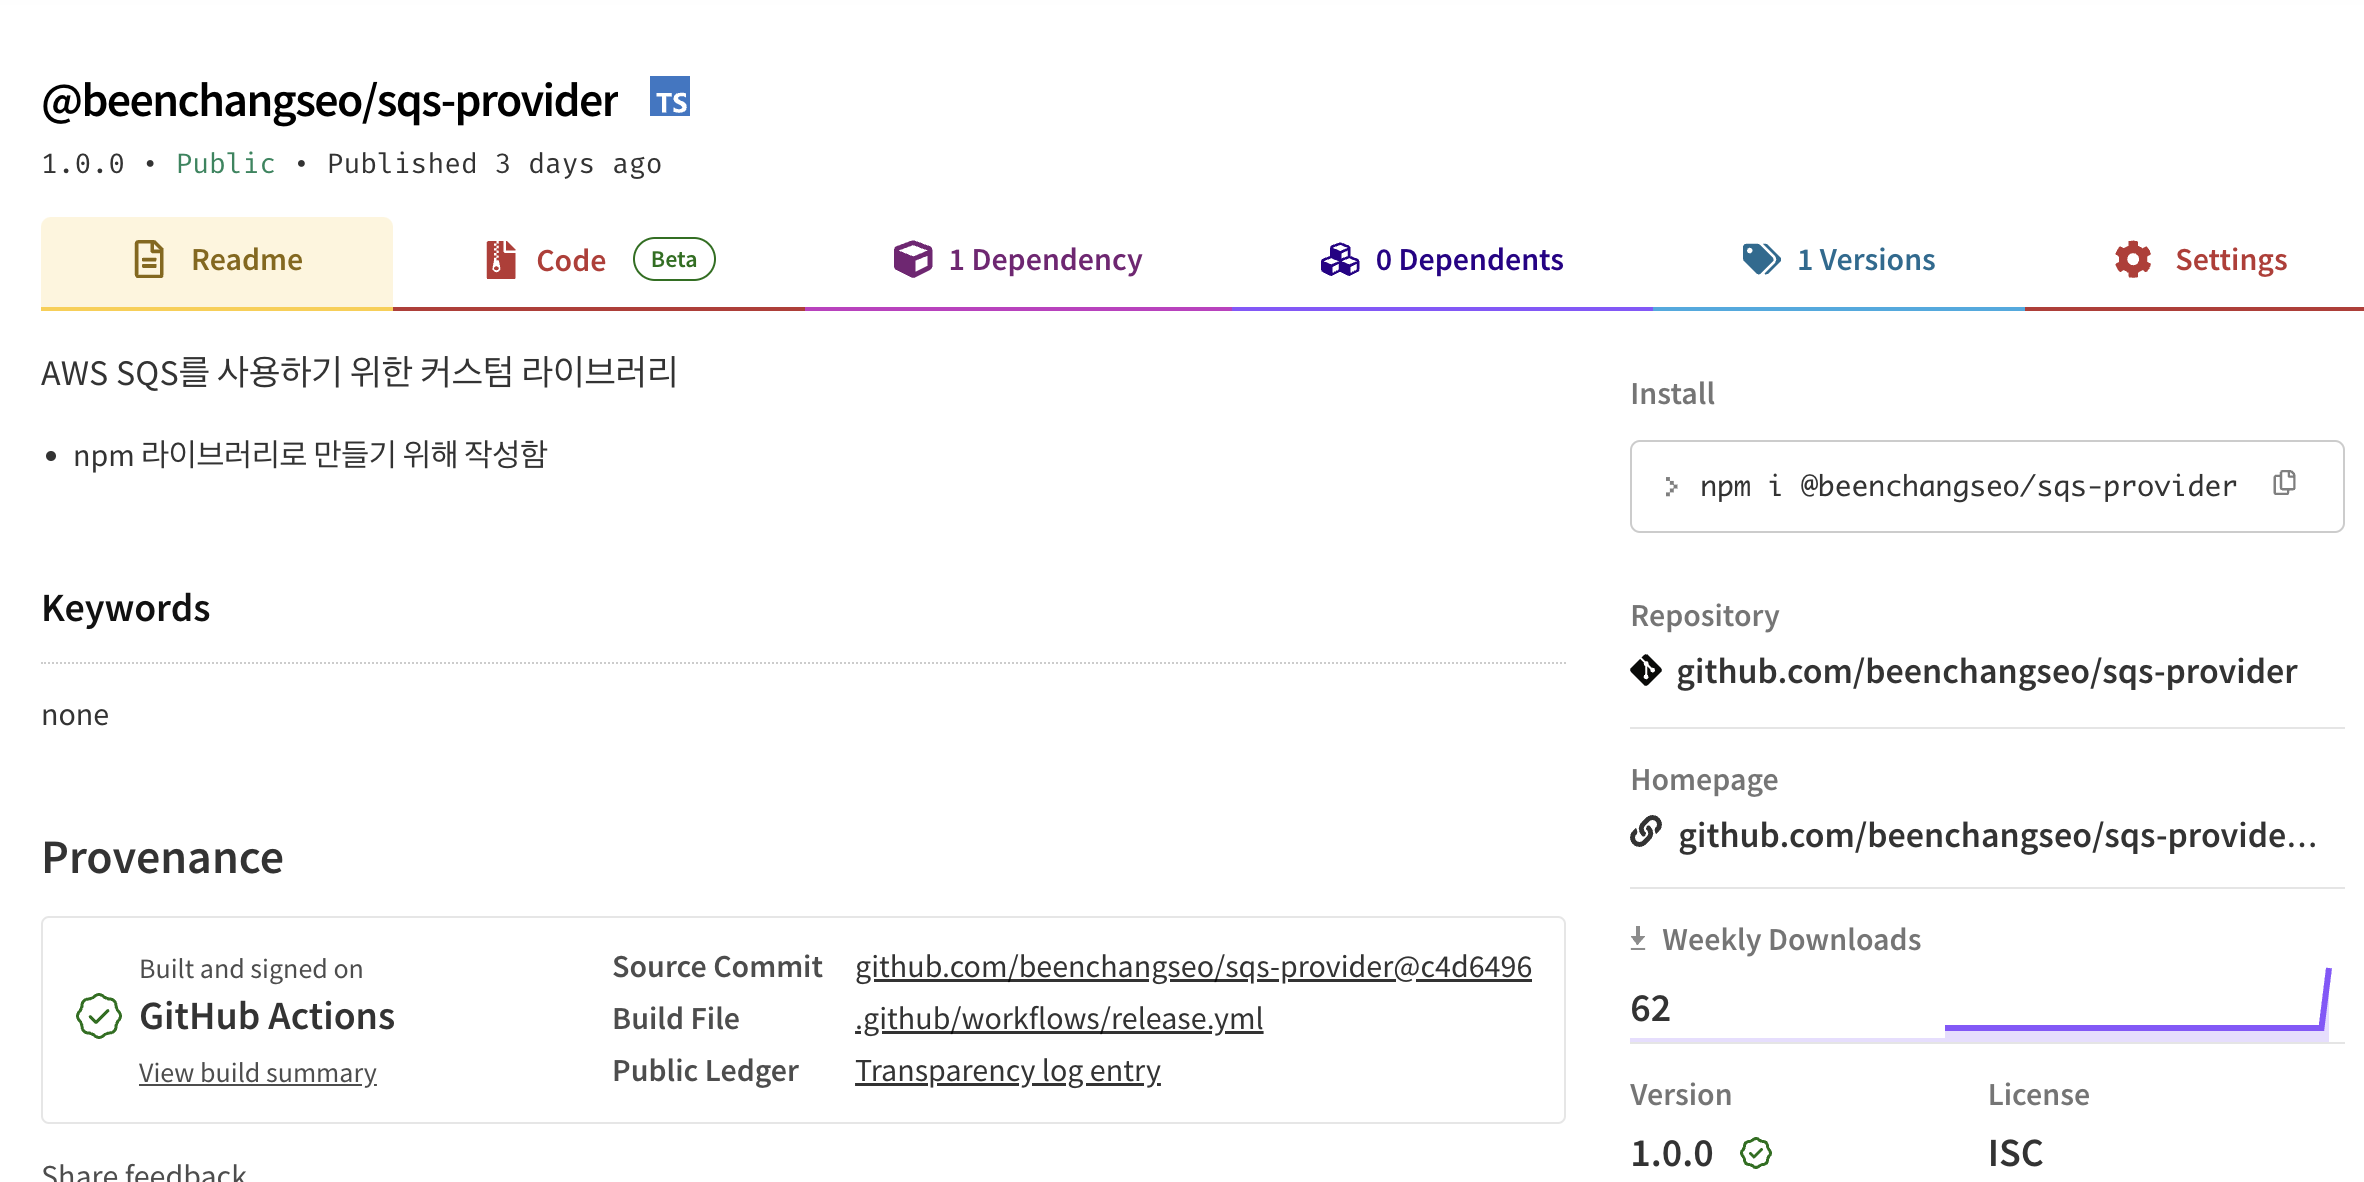
정상적으로 GitHub Action이 동작하는걸 확인할 수 있습니다.
NPM 저장소도 확인 해봅니다.
마무리
이렇게 NPM저장소에 내가 만든 패키지를 GitHub Action을 통해 배포를 해보았고, 공식문서를 따라해보니 크게 어렵지 않았습니다. 또한 tag, release 생성도 workflow를 이용하여 자동화하면 더 좋을 것 같다는 생각이 들었습니다.